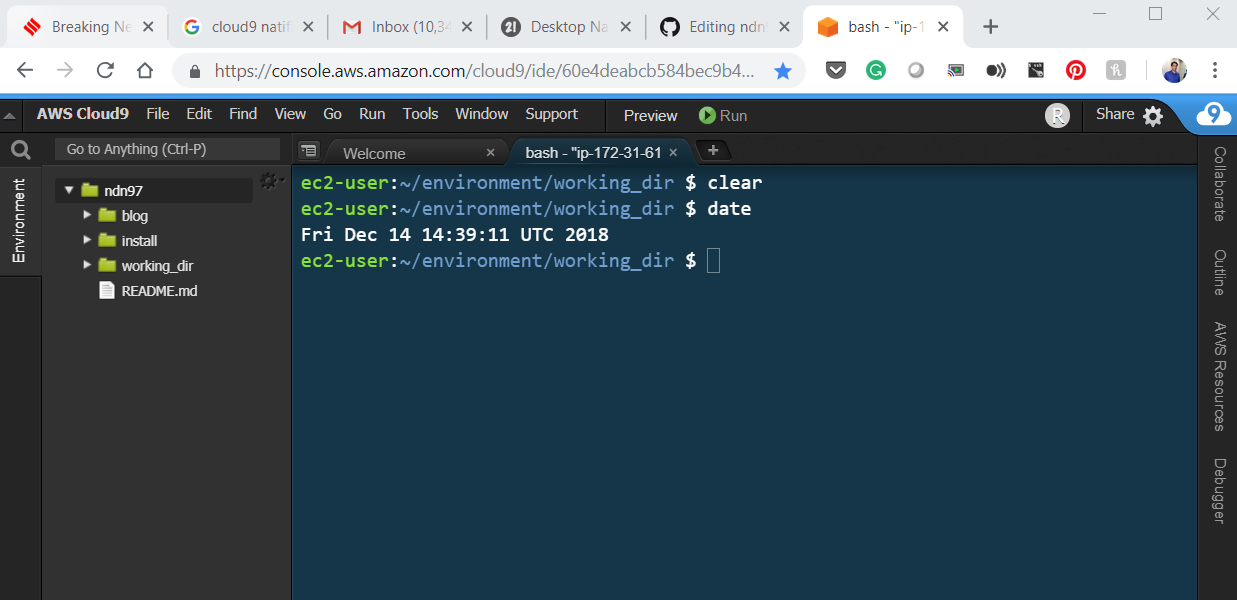
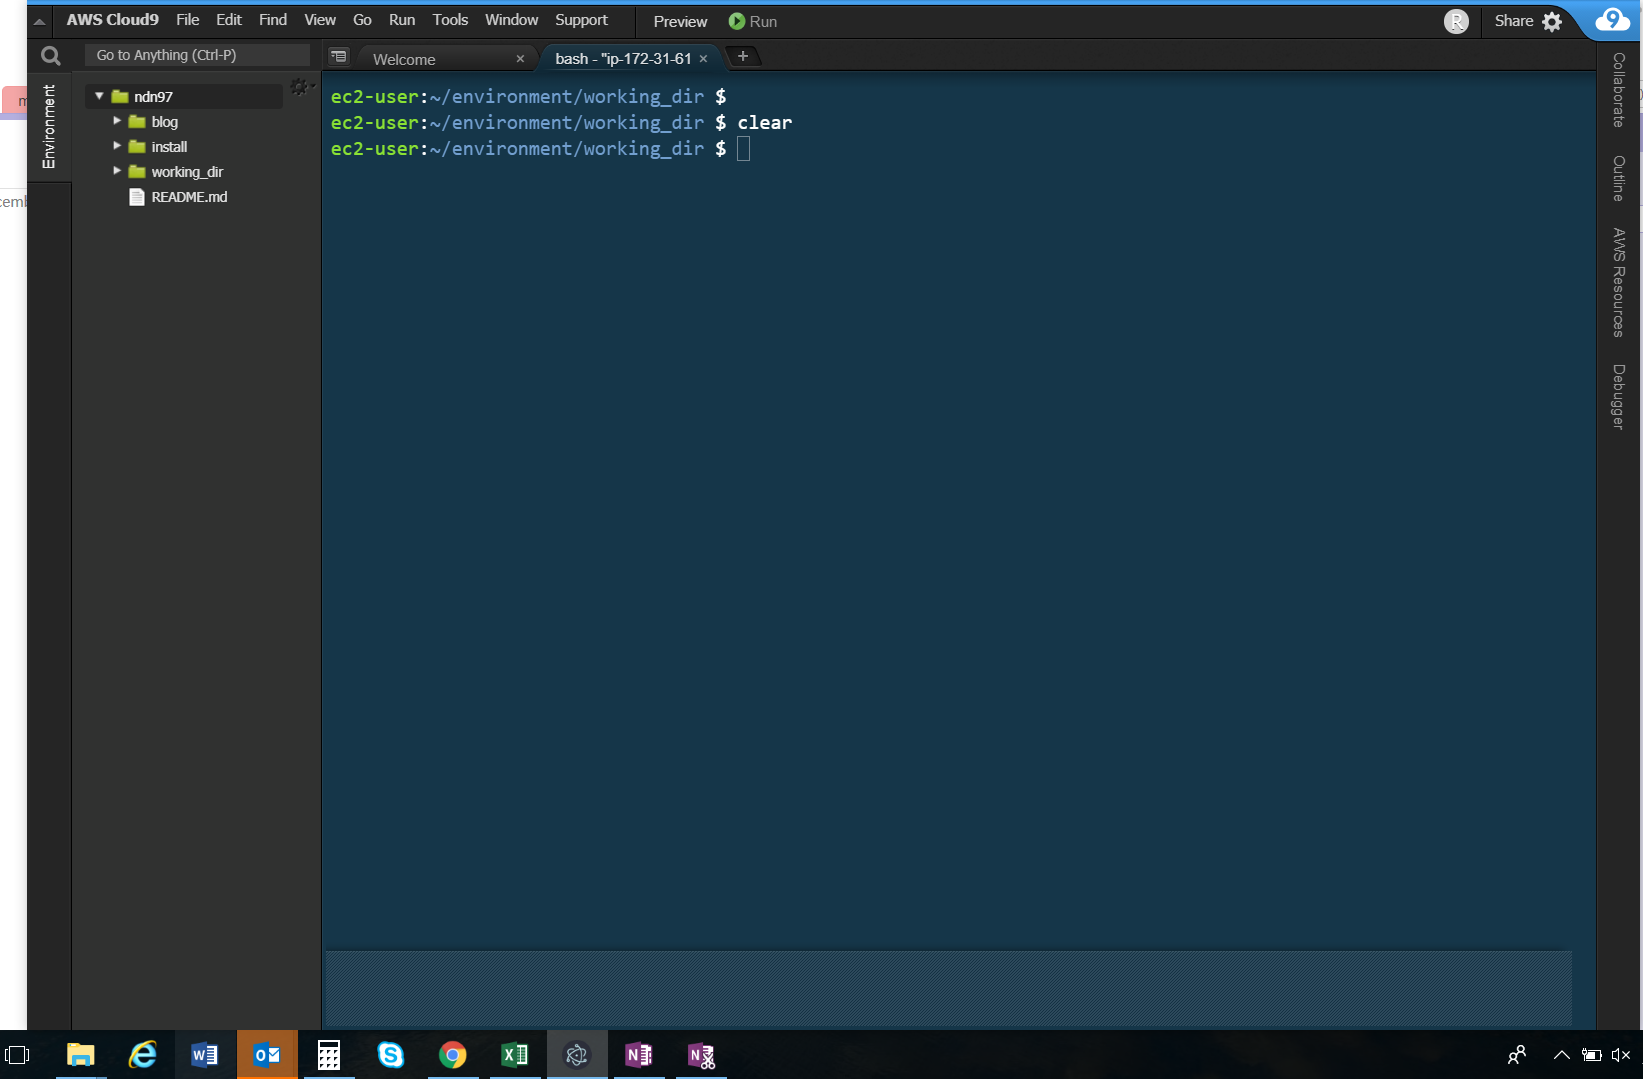
Cloud9 IDE is very productive even with its usage only through browser, its intergrated terminal for quickly running commands and manage AES environment is helpful. As detailed in the earlier post on setting up AWS cloud9 environment as main IDE in cloud/browser, got to know cloud9 IDE running as MacOS native app , this is based on Nativefier, which convert web apps to native apps as required for MacOS,Linux,Windows.
Here are the steps to convert Cloud9 IDE to Windows native App using Nativefier,by which no need to remember the http link of IDE and app will be conveniently available as native app on the taskbar/desktop for improved desktop experience.
- Prepare your cloud9 env and obtainIDE address https://region.console.aws.amazon.com/cloud9/ide/XXX
- Login to IDE from browser, go into terminal mode (CTRL-T) and install natifier app by running (npm install nativefier -g)
- Go to /tmp path and validate natifier is working ( nativefier –help )
- Run the command for windows,64 bit OS nativefier –single-instance –icon=./AWSCloud9.icns –internal-urls “” –name=”AWS Cloud9” –disable-dev-tools –hide-window-frame –file-download-options ‘{“saveAs”:true}’ –platform=”windows” –arch=”x64” https://region.console.aws.amazon.com/cloud9/ide/XXX
- Step 4 , will create AWS Cloud9-win32-x64 folder, zip it for download (zip -r cloud9.zip AWS\ Cloud9-win32-x64)
- Copy zip folder to S3 (aws s3 cp cloud9.zip
) - Download cloud9.zip from S3 bucket and extract zip
- Create shortcut/Pin to taskbar from the executable (AWS Cloud9.exe)
Cloud9 Running in Browser: 
Cloud9 Running as Native Windows App:  :
:
Comments